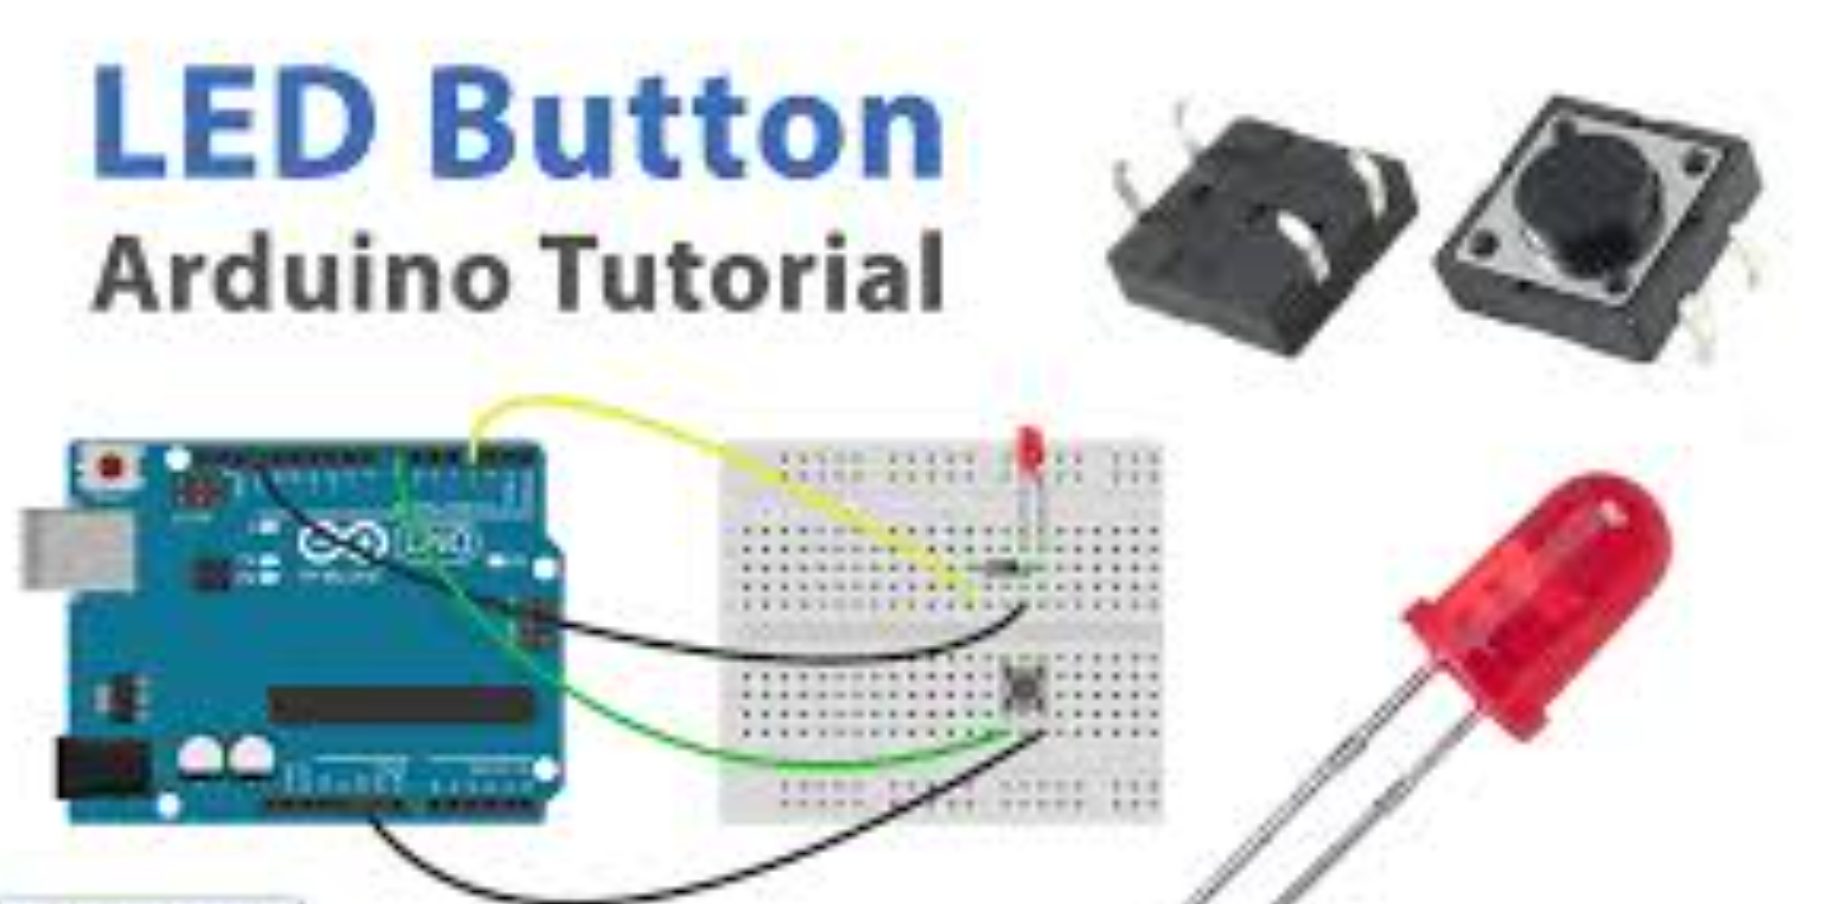
Have you ever wanted to control an LED with just the push of a button? It’s one of the simplest yet most rewarding projects you can do with an Arduino. Think of it as a gateway to learning how to build interactive electronics.
This project is perfect for beginners, and by the end, you’ll understand how buttons and LEDs work together, how to wire them correctly, and how to write the necessary code in the Arduino IDE.
Why Learn to Control an LED With a Button?
You might wonder, “Why start with something so basic?” The truth is, this small project lays the foundation for more complex projects. Here’s why:
- Learn Input and Output Basics: The button acts as an input device, while the LED is the output. Understanding this is key to most Arduino projects.
- Practical Applications: The concept can be expanded to control larger systems, like switching appliances on or off.
- Coding Fundamentals: You’ll learn about digitalRead(), digitalWrite(), and if-else conditions in Arduino programming.
Read Also Remote Health Monitoring System with ESP32, LoRa, & ThingSpeak
Components Needed

Before we dive into the setup, let’s gather the required components:
- Arduino Board: Any model, like the Arduino Uno or Nano, works great. For our example here, we are using the famous Arduino Uno board.
- LED: A standard LED for this example.
- Pushbutton: A simple tactile switch.
- Resistors:
- 220-ohm resistor for the LED.
- 10k-ohm pull-down resistor for the button.
- Breadboard: For prototyping the circuit.
- Jumper Wires: For making connections.
- USB Cable: To upload code to the Arduino.
Understanding How the Circuit Works
When you press the button, it completes an electrical circuit. The Arduino detects this and sends a signal to turn the LED on. When the button is released, the circuit is broken, and the LED turns off.
To ensure stable operation, a pull-down resistor is used. Without it, the button’s state could “float,” causing erratic behavior.
Setting Up the Circuit
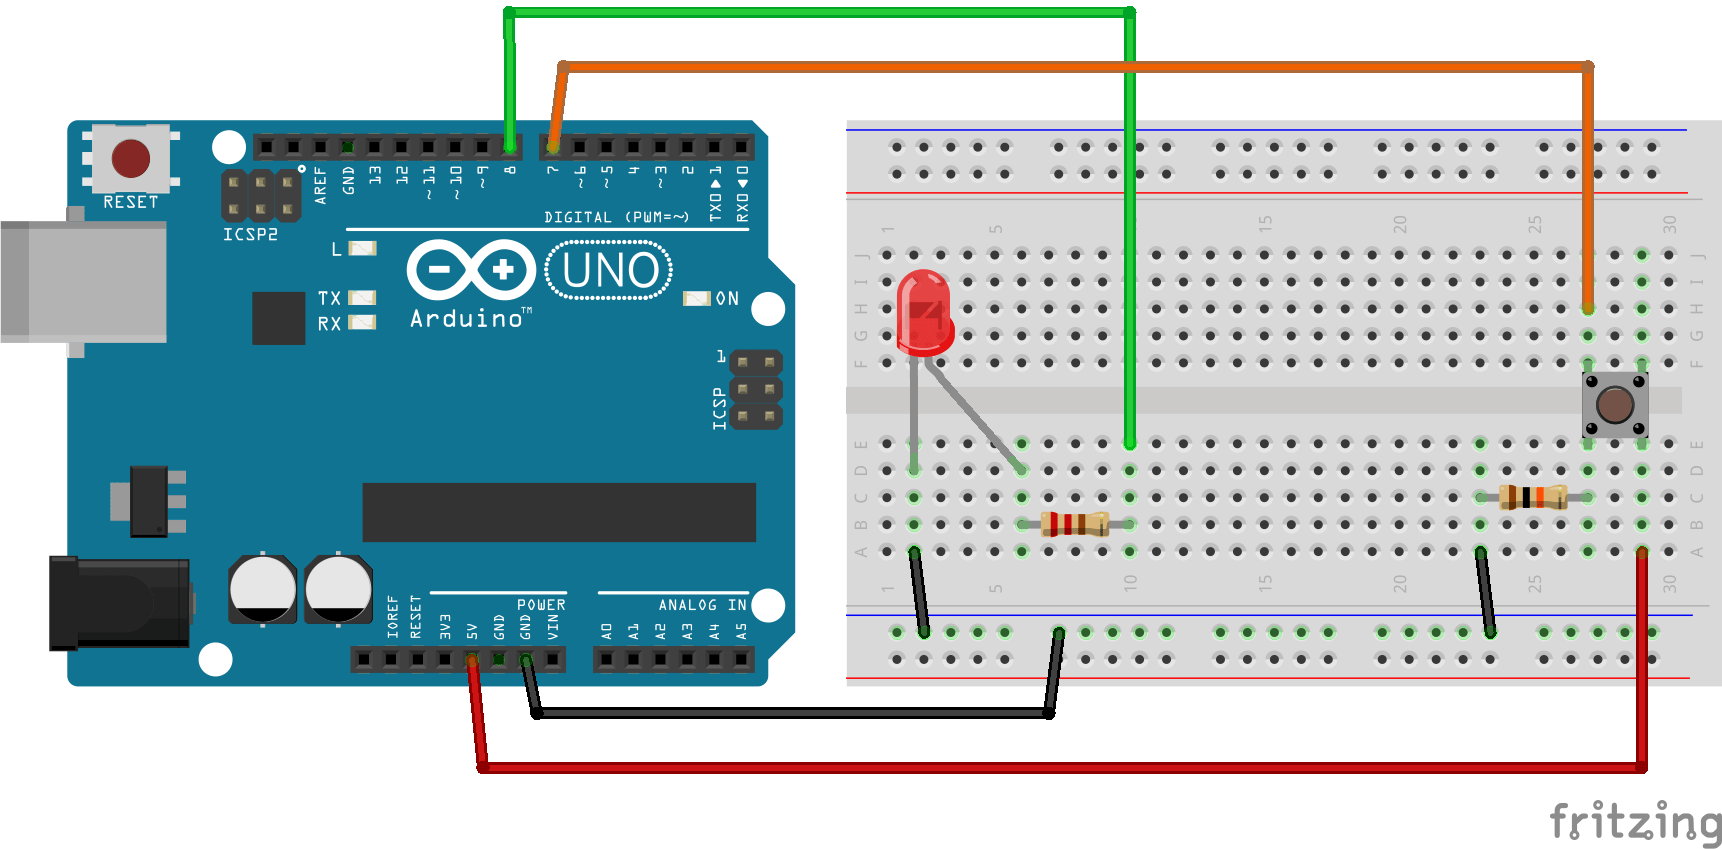
Step 1: Connect the LED
- Place the LED on the breadboard.
- Connect the long leg (anode) of the LED to pin 13 on the Arduino using a 220-ohm resistor. You can also use a 1k resistor if you don’t have the former resistor.
- Connect the short leg (cathode) to the ground (GND).
Step 2: Connect the Button
- Place the pushbutton on the breadboard, ensuring each leg is in a different row.
- Connect one leg of the button to 5V on the Arduino.
- Connect the other leg to pin 7 using a jumper wire.
- Add a 10k-ohm pull-down resistor between the button’s second leg and ground (GND).
You May Also Like How to Build an IoT Pulse Rate Monitoring with ESP32 Arduino
Writing the Arduino Code
Here’s where the magic happens! Open the Arduino IDE, and type the following code:
Arduino Code to Control an LED With a Button
// Define the pin numbers
const int buttonPin = 7;  // Button connected to pin 7
const int ledPin = 13;    // LED connected to pin 13

// Variable to store the button state
int buttonState = 0;

void setup() {
  // Initialize the LED pin as output
  pinMode(ledPin, OUTPUT);

  // Initialize the button pin as input
  pinMode(buttonPin, INPUT);
}

void loop() {
  // Read the state of the button
  buttonState = digitalRead(buttonPin);

  // Check if the button is pressed
  if (buttonState == HIGH) {
    // Turn the LED on
    digitalWrite(ledPin, HIGH);
  } else {
    // Turn the LED off
    digitalWrite(ledPin, LOW);
  }
}
Explanation of How the Code Works
- pinMode(): Sets the button as an input and the LED as an output.
- digitalRead(): Reads the current state of the button (HIGH when pressed, LOW when not).
- if-else Statement: Decides whether the LED should be ON or OFF based on the button’s state.
- digitalWrite(): Turns the LED ON (HIGH) or OFF (LOW).
Testing the Circuit
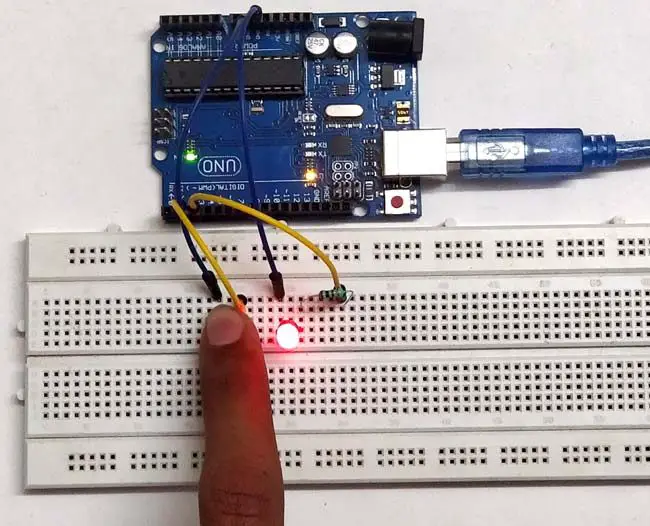
Once your circuit is set up and the code is uploaded to the Arduino:
- Press the button. The LED should light up.
- Release the button. The LED should turn off.
Congratulations! You’ve just created your first interactive project.
Adding Advanced Features
1. Toggle the LED With the Button
What if you want the LED to stay on after pressing the button and turn off with another press?
Modify the code like this:
const int buttonPin = 7;
const int ledPin = 13;

int buttonState = 0;
int lastButtonState = 0;
int ledState = LOW;

void setup() {
  pinMode(ledPin, OUTPUT);
  pinMode(buttonPin, INPUT);
}

void loop() {
  buttonState = digitalRead(buttonPin);

  if (buttonState == HIGH && lastButtonState == LOW) {
    ledState = !ledState;  // Toggle LED state
    digitalWrite(ledPin, ledState);
  }

  lastButtonState = buttonState;
}
This code toggles the LED’s state every time the button is pressed.
2. Add Multiple Buttons and LEDs
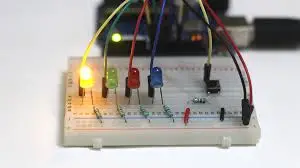
Expand the circuit to include multiple buttons and LEDs. You’ll learn how to handle multiple inputs and outputs in the same code.
3. Use External Hardware
Replace the LED with a relay module to control larger devices like fans or lights.
Common Issues and Troubleshooting
Problem 1: LED Doesn’t Light Up
- Check the wiring, especially the LED’s polarity.
- Ensure the resistor is connected to limit current.
Problem 2: Button Doesn’t Work Properly
- Verify the pull-down resistor is connected correctly.
- Check if the button is making proper contact in the breadboard.
Problem 3: Code Doesn’t Upload
- Ensure the Arduino is connected to your computer.
- Select the correct port and board in the Arduino IDE.
Practical Applications
Controlling an LED with a button might seem simple, but the concept can be applied to a variety of projects:
- Home Automation: Use buttons to control lights or appliances.
- Interactive Art: Create installations where users interact with LEDs.
- Robotics: Use buttons to activate motors or sensors.
- Learning Aid: Teach the basics of electronics and programming with this project.
Safety Tips
- Use appropriate resistors to avoid damaging the LED.
- Always double-check your wiring to prevent short circuits.
- Disconnect the Arduino from power while assembling or modifying the circuit.
Conclusion
Building a button-controlled LED project is a fantastic starting point for Arduino enthusiasts. It’s simple, fun, and opens the door to countless possibilities. Once you’ve mastered this, you’ll be ready to tackle more complex projects like creating light sequences or building a control panel.
So, grab your components and start experimenting. Who knows? This small project might ignite a lifelong passion for electronics and programming.
FAQs
1. Do I need a resistor for the LED?
Yes, a 220-ohm resistor limits the current to protect the LED and Arduino pin.
2. Can I use any button for this project?
Yes, any pushbutton will work as long as it fits on your breadboard.
3. What happens if I connect the LED directly without a resistor?
The LED may draw too much current, potentially damaging both the LED and the Arduino.
4. Can I control multiple LEDs with one button?
Yes, you can use the button to control multiple LEDs with additional code.
5. How can I power this circuit without a computer?
You can use a 9V battery connected to the Arduino’s power jack or Vin pin.