Have you ever wondered how robots avoid obstacles or how automatic doors detect someone approaching? The secret lies in ultrasonic sensors! These nifty devices use sound waves to measure distance, and when paired with an Arduino, you can create your own distance-measuring project in no time. This tutorial, Distance Measurement Using An Ultrasonic Sensor and Arduino, will guide you step-by-step through building a system that measures distance with precision, using an ultrasonic sensor and Arduino.
Let’s dive in and bring this idea to life!
What is an Ultrasonic Sensor?
An ultrasonic sensor is a device that measures distance by emitting sound waves and calculating the time it takes for the echo to return. These sound waves are above the range of human hearing, making them perfect for non-intrusive applications.
Read Also: Digital Temperature Monitor Using LM35 Sensor and Arduino
How Does an Ultrasonic Sensor Work?
Here’s the magic:
- The sensor emits a high-frequency sound wave (usually 40 kHz).
- The sound wave travels through the air until it hits an object.
- The wave bounces back to the sensor.
- The sensor calculates the time it took for the echo to return and converts this into a distance measurement using the formula:
Distance=Time×Speed of Sound
Why Use an Arduino for This Project?
Arduino boards make electronics accessible to everyone. They’re beginner-friendly and highly customizable, making them ideal for integrating with sensors like the HC-SR04 ultrasonic module.
Benefits of Using Arduino in Your Project
- Versatility: Works with a wide range of components.
- Open-source: Tons of resources, libraries, and community support.
- Cost-effective: Affordable for DIY enthusiasts.
Components You’ll Need
Before jumping into the wiring and coding, gather the following materials:
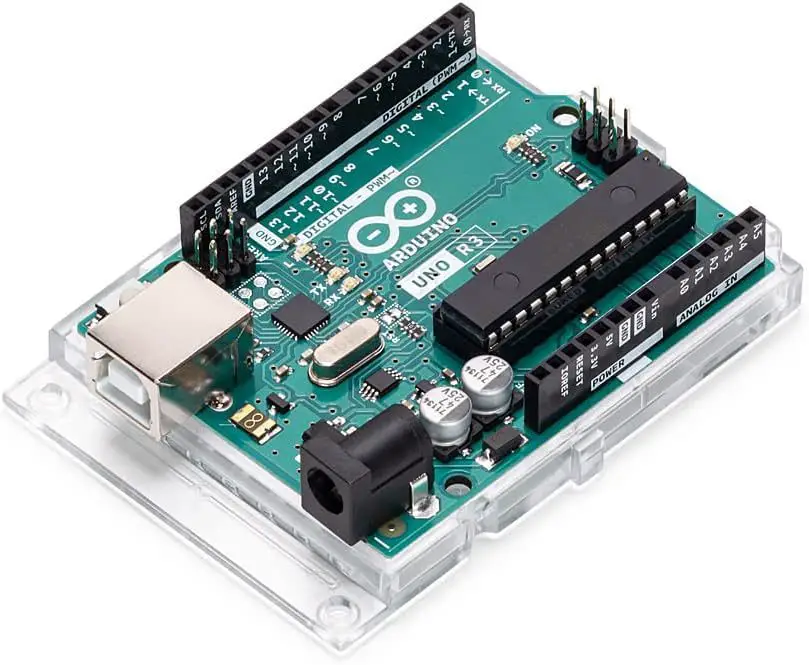
- Arduino Uno (or use any compatible Arduino board)
- HC-SR04 Ultrasonic Sensor
- Breadboard
- Jumper wires
- USB cable (to connect Arduino to your computer)
- Power source (optional if you want standalone operation)
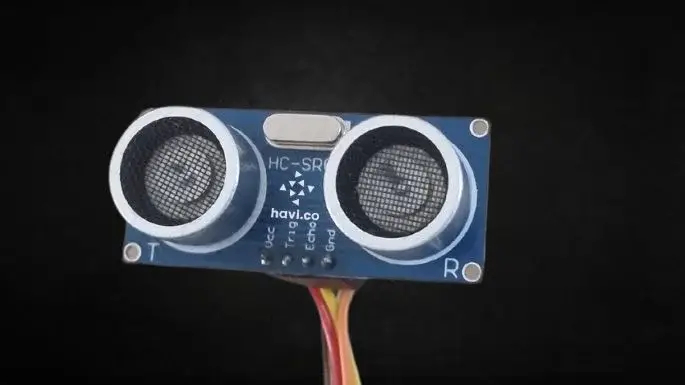
Getting to Know the HC-SR04 Ultrasonic Sensor
The HC-SR04 has four pins:
- VCC: Connect to 5V power supply.
- GND: Ground pin.
- Trigger (Trig): Sends out ultrasonic pulses.
- Echo: Receives the reflected signal.
Specifications of the HC-SR04
- Operating Voltage: 5V
- Sensing Range: 2 cm to 400 cm
- Accuracy: ±3 mm
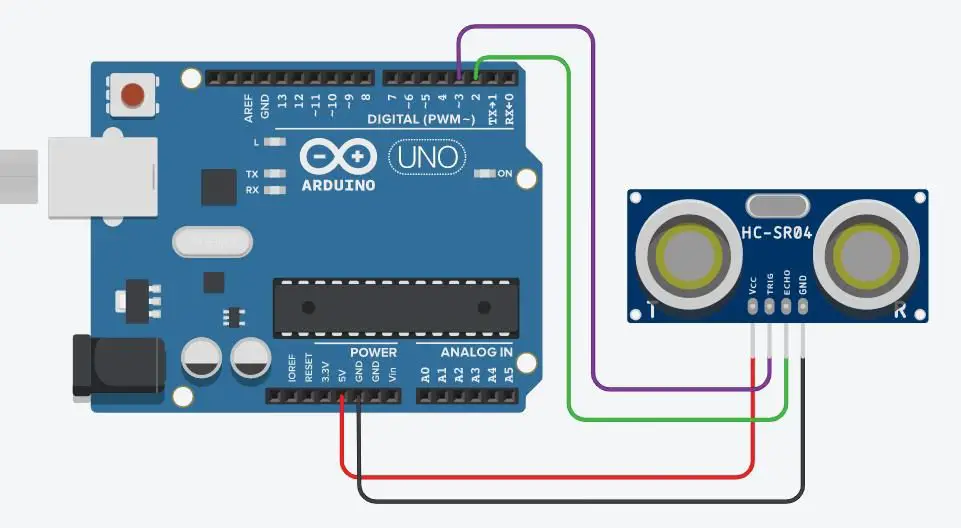
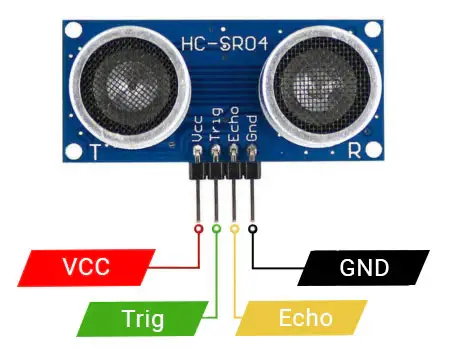
Wiring The Circuit Diagram

You can change any part of the schematic diagram that doesn’t sit well with you. Or you can drop a comment below for more information.
Explanation of The Circuit Diagram
Follow this step-by-step guide to connect the components:
- Power the Sensor
- Connect the VCC pin of the sensor to the 5V pin on the Arduino.
- Connect the GND pin of the sensor to the GND pin on the Arduino.
- Connect the Trigger and Echo Pins
- Connect the Trig pin to Arduino digital pin 9.
- Connect the Echo pin to Arduino digital pin 10.
- Prepare the Arduino Board
- Attach the Arduino to your computer using a USB cable.
Arduino Code for Distance Measurement
Here’s the Arduino code to measure distance using the HC-SR04 sensor:
#include <LiquidCrystal.h>

// Define pins for ultrasonic sensor
#define TRIG_PIN 9
#define ECHO_PIN 10

// Define pins for LCD display
#define LCD_RS 7
#define LCD_EN 8
#define LCD_D4 5
#define LCD_D5 4
#define LCD_D6 3
#define LCD_D7 2

LiquidCrystal lcd(LCD_RS, LCD_EN, LCD_D4, LCD_D5, LCD_D6, LCD_D7);

void setup() {
  Serial.begin(9600); // Start serial communication
  pinMode(TRIG_PIN, OUTPUT);
  pinMode(ECHO_PIN, INPUT);
  lcd.begin(16, 2); // Initialize LCD display
  lcd.setCursor(0, 0); // Set cursor to first row
  lcd.print("Distance:"); // Display label
}

void loop() {
  long duration;
  float distance;

  // Send a 10µs pulse to trigger the sensor
  digitalWrite(TRIG_PIN, LOW);
  delayMicroseconds(2);
  digitalWrite(TRIG_PIN, HIGH);
  delayMicroseconds(10);
  digitalWrite(TRIG_PIN, LOW);

  // Measure the echo pulse duration
  duration = pulseIn(ECHO_PIN, HIGH);

  // Calculate the distance in cm
  distance = duration * 0.034 / 2;

  // Display the distance on the Serial Monitor
  Serial.print("Distance: ");
  Serial.print(distance);
  Serial.println(" cm");

  // Display the distance on the LCD display
  lcd.setCursor(0, 1); // Set cursor to second row
  lcd.print(distance); // Display distance
  lcd.print(" cm"); // Display unit

  delay(500); // Wait before the next measurement
}
Explaining the Arduino Code
- Define Pins:
TRIG_PINandECHO_PINcorrespond to the trigger and echo pins of the sensor. - Setup Function: Initializes the pins and serial communication.
- Main Loop:
- Sends a pulse to the sensor.
- Measures the time for the echo to return.
- Converts time into distance.
Testing The Project Design
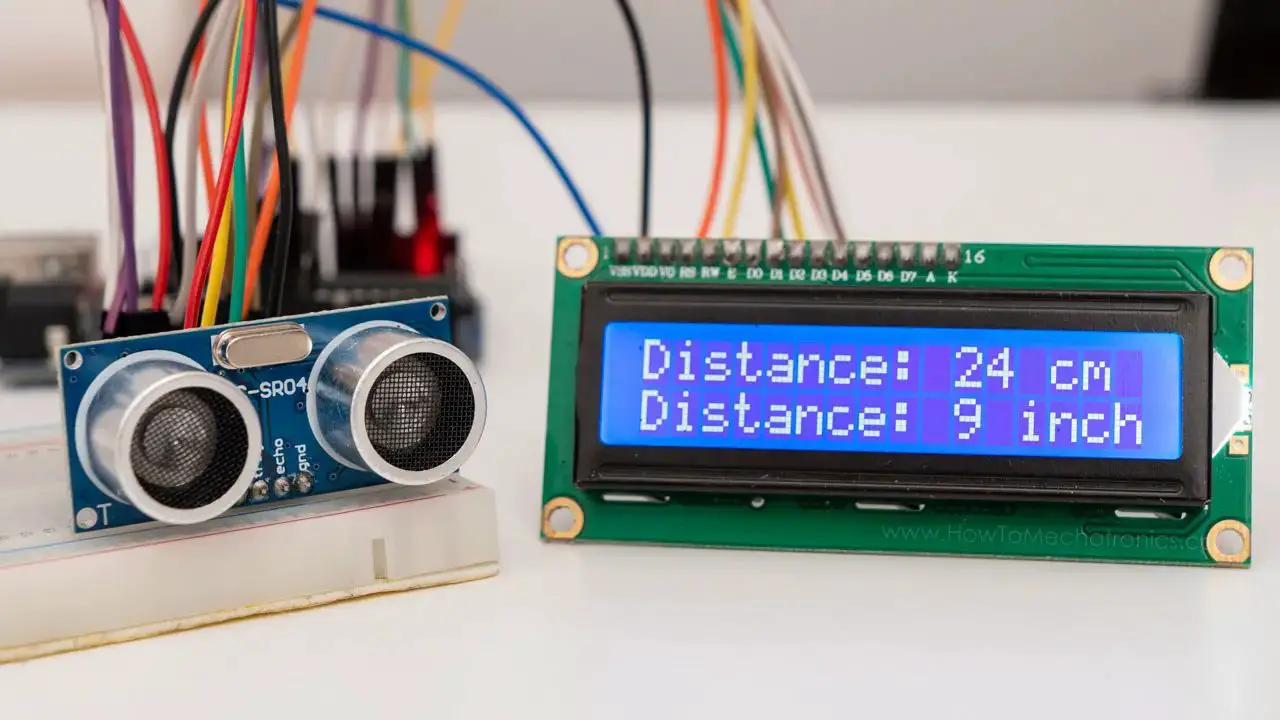
- Upload the code to your Arduino board.
- Open the Serial Monitor in the Arduino IDE (set the baud rate to 9600).
- Move an object in front of the sensor and observe the distance readings on the monitor.
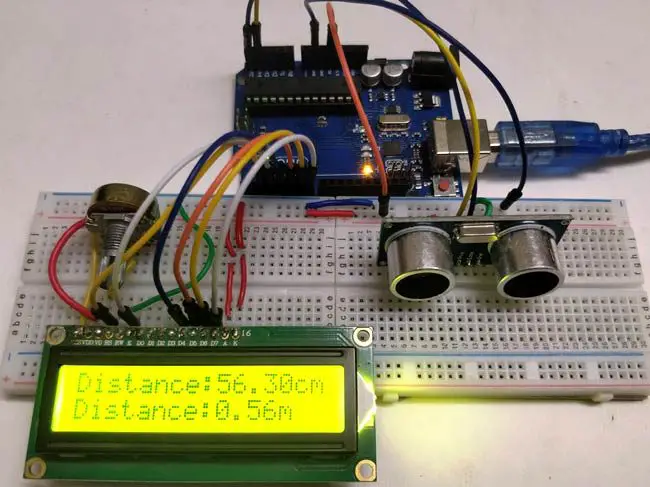
As shown above, the LCD (if added), will shown the measured distance of the obstacle to the ultrasonic sensor. And any changes will be equally detected and displayed.
Common Issues and Troubleshooting
1. No Distance Readings
- Check your connections—ensure VCC and GND are correctly wired.
2. Incorrect Readings
- Ensure no obstacles are within the sensor’s minimum range (2 cm).
- Avoid using the sensor in environments with high noise or temperature fluctuations.
3. Serial Monitor Not Displaying Data
- Verify the correct COM port and baud rate are selected in the Arduino IDE.
Enhancing the Project
Want to make your distance measurement project even cooler? Here are some ideas:
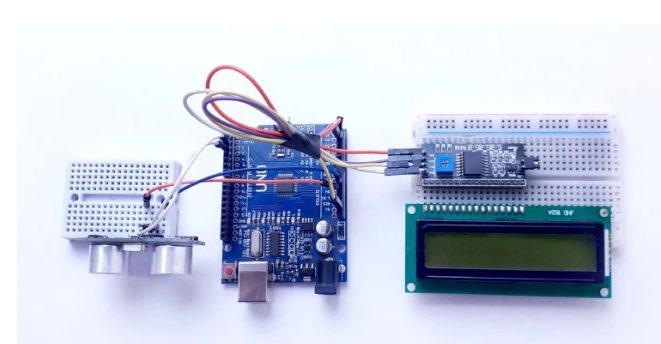
1. Display Data on an LCD
Connect an LCD module to your Arduino to show real-time distance measurements without using a computer.
2. Add an Alarm System
Integrate a buzzer to alert you when an object is too close.
3. Build a Parking Sensor
Mount the setup on your car to measure the distance to obstacles while parking.
4. Make It Wireless
Use a Bluetooth or Wi-Fi module to send distance data to your smartphone.
Real-world Applications
Ultrasonic sensors aren’t just for DIY projects—they’re used in a variety of industries:
- Robotics: Navigation and obstacle avoidance.
- Automotive: Parking assistance systems.
- Home Automation: Automatic lighting and security systems.
- Healthcare: Distance measurement in medical devices.
Why This Project is Perfect for Beginners
This project strikes a balance between simplicity and functionality. It introduces you to:
- Working with sensors.
- Writing and understanding basic Arduino code.
- Building circuits on a breadboard.
Conclusion
Creating a distance measurement system with an ultrasonic sensor and Arduino is not only educational but also incredibly satisfying. By following this tutorial, you’ve taken a step closer to mastering electronics and IoT. Whether you use it for a DIY project or expand it into something larger, the possibilities are endless.
So, what will you measure next? Let your imagination lead the way!
FAQs
1. Can I use a different Arduino board for this project?
Yes, you can use other Arduino boards like the Nano or Mega, as long as they have enough pins and support the required libraries.
2. How can I increase the accuracy of the sensor?
You can improve accuracy by averaging multiple readings and ensuring a stable environment free from noise and extreme temperatures.
3. What happens if the object is out of range?
If the object is beyond the sensor’s range (400 cm), you might receive no data or inaccurate readings.
4. Can I measure distance underwater?
No, the HC-SR04 is not designed for underwater use. You’d need a specialized ultrasonic sensor for that.
5. Is the ultrasonic sensor safe for pets?
Yes, the sound waves emitted by the sensor are inaudible and safe for humans and animals.